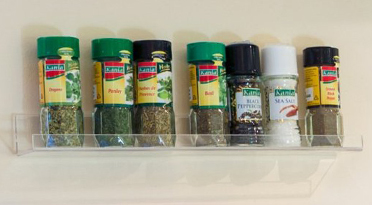
Easy step by step Instructions for Mounting Your Spice Rack Shelves on a typical wall. Cooking will never be easier if you organize your spices. Whether your collection is minimal or massive, it is important to store your herbs and spices properly to ensure clean and efficient cooking space. Pretty Display Spice Rack is just what you need to get your bottles in order. Here we will show you Instructions for Mounting Your Spice Rack Shelves.
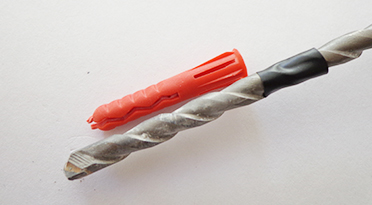
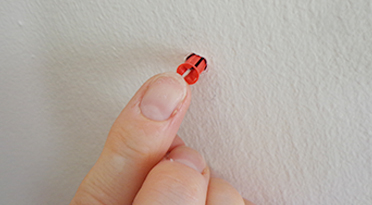
IMPORTANT! Please check the fittings before you start to install the shelves.We supply some standard fittings, you may need to purchase fittings to suit your requirements. We include two standard types of screw anchors, which fit the screws supplied: The grey screw anchors require a 7/37 inch (6mm) drill bit size and are best for solid wall. The white screw anchors require a 5/16th inch (8mm) drill bit size. Please note a small ring of the white screw anchor may show behind the screw head when installed. The white screw anchors are most secure for drywall installations.
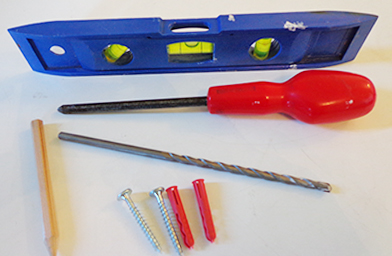
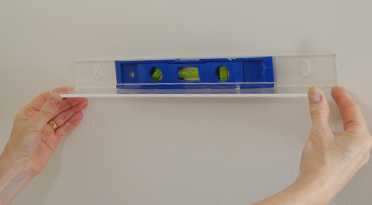
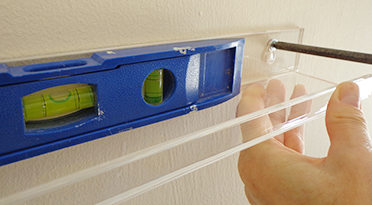
- a spirit level
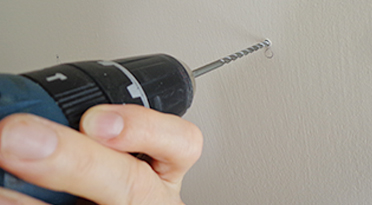
- a drill with a 7/32 inch/ 6mm masonary drill bit
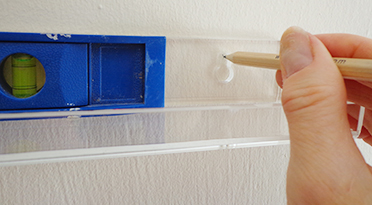
- pencil and eraser or damp cloth
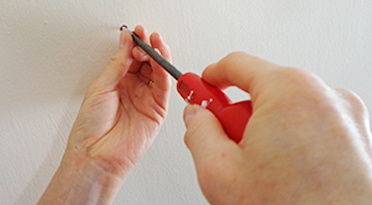
- Phillips screwdriver
- measuring tape


READ THIS:
IF YOU HAVE THE OPEN-ENDED SHELVES AND WANT TO USE THE OPTIONAL GLUE-ON END CAPS…
Most people don’t bother with the optional ends on the shelves. They are really quite sturdy by themselves, and the open look is nice. But, if you want the added security of having an end on the shelf, it is very easy to manage. Here’s how….
Inside the box you will find a little packet with the small acrylic strips inside. These are sized to fit at the ends of the spice rack shelves. They come to you with a thin protective film to protect them from dust and scratches.
1. Remove the protective film on the strips.
2. Place the strip over the end of the shelf and decide where you are going to stick it.
3. Use glue to attach each end.
4. The ends are not water-tight nor do they bear any weight, so a small dot of the glue is usually enough.
5. Wipe away any excess glue before it sets.
6. Wait until the glue is fully dry before you mount the shelves on the wall.
We recommend a super-glue type product, preferably with an accelerant to dry quickly. However, you will need to check the information on the glue itself to ensure it is suitable. If in doubt, ask your local “do-it-yourself” expert, handy-man or that clever guy in your local hardware shop.
IMPORTANT!
* check that your glue is suitable for plastic/acrylic
* check that your glue is clear when it dries
* follow the instructions on the glue for best results
* always take appropriate care when using glue, from dangerous fumes to sticking all your fingers together – be careful!
TIP!
Try gluing a few bits of spare plastic together in a practice run to test your glue. We found that useful, as sometimes the glue is solid, runny, or squirts out in a hurry, dries too fast or too slow. A trial run only takes a moment and might save messing around when you work on your new spice rack shelves.
[/col]